How to Setup Frontier Email with Windows?
How to Set Up Frontier Email on Windows?
If you’re a Windows user, you can set up your Frontier email account using Microsoft Outlook or Windows Mail. Here’s how:
1. Open Microsoft Outlook.
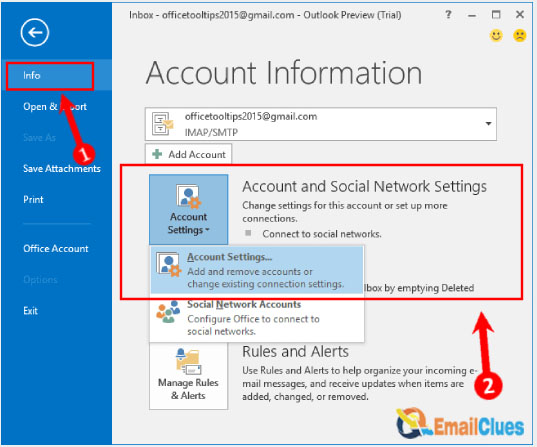
2. Click the File tab.
3. Click Add Account.
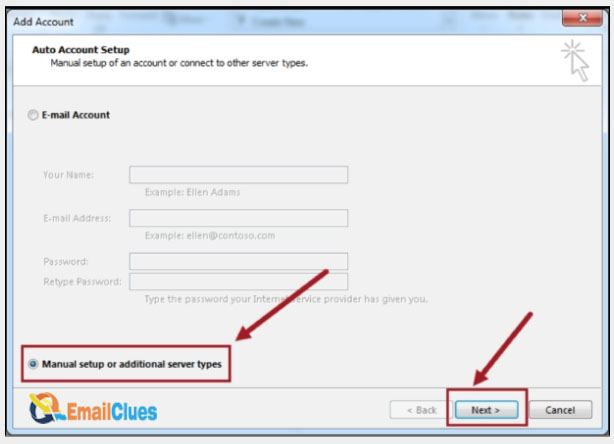
4. Select Manual setup or additional server types and click Next.
5. Select POP or IMAP and click Next.
6. Enter your Frontier email address and password, then click Next.
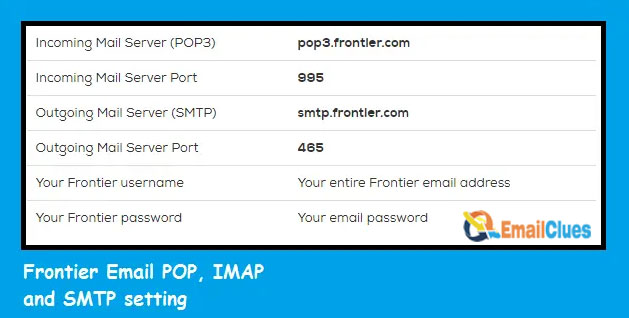
7. Enter the following Frontier incoming and outgoing server settings:
- Incoming server (POP3 or IMAP): pop3.frontier.com
- Outgoing server (SMTP): smtp.frontier.com
8. Click More Settings.
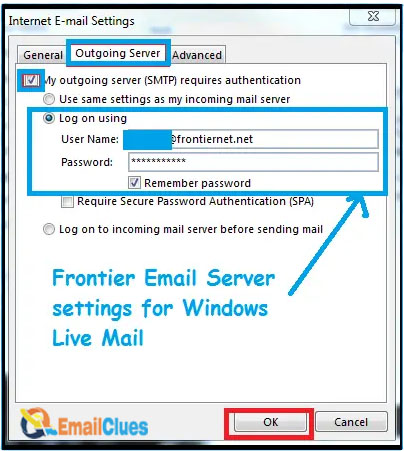
9. Select the Outgoing Server tab.
10. Select My outgoing server (SMTP) requires authentication and click the radio button next to Use the same settings as my incoming mail server.
11. Select the Advanced tab.
12. Enter the following Frontier incoming and outgoing server settings:
- Incoming server (POP3 or IMAP): pop3.frontier.com
- Outgoing server (SMTP): smtp.frontier.com
13. Click OK.
14. Click Next.
15. Click Finish.
You’ve successfully configured Microsoft Outlook to work with your Frontier email account.
Setting Up Frontier Email Manually
If you’re a Frontier customer, you may want to set up your Frontier email account in Windows Mail manually. This process is relatively simple and only requires that you have a few pieces of information on hand. Here’s what you’ll need to do:
1. Open Windows Mail and click on the Tools menu.
2. Select Accounts from the drop-down menu.
3. Click the Add button and select Email Account from the list.
4. Enter your name in the Display Name field.
5. Enter your full Frontier email address in the Email Address field.
6. In the Incoming mail server (POP3/IMAP) field, enter “pop.frontier.com”.
7. In the Outgoing mail server (SMTP) field, enter “smtp.frontier.com.”
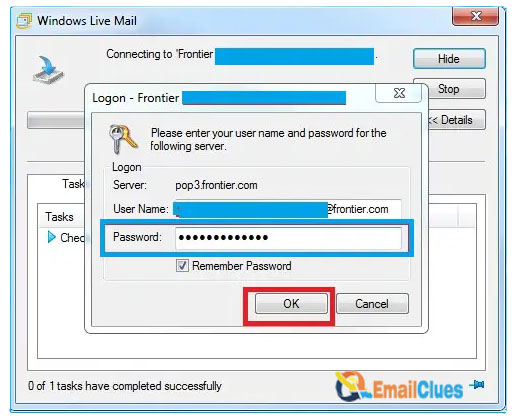
8. Enter your Frontier email username in the User Name field. Your username is part of your email address before the “@” symbol.
9. Enter your Frontier email password in the Password field.
10. Make sure the Remember password checkbox is selected.
11. Click on the Next button.
12. Windows Mail will now try to connect to your Frontier email account. If the connection is successful, you’ll see a message that says, “Your email account was successfully added.” Click on the Finish button.
13. That’s it! You should now be able to send and receive emails from your Frontier account in Windows Mail.
Setting Up Frontier Email Automatically
If you’re a Frontier Email customer, you can set up your email program to connect automatically to your Frontier email account. This means that whenever you open your email program, your email will be up-to-date, and you won’t have to enter your account information each time you want to check your mail.
Instructions for Setting Up Frontier Email Automatically
The instructions below are for setting up Frontier Email in Microsoft Outlook. If you’re using a different email program, you’ll need to consult your program’s documentation for instructions on how to set up an email account.
1. Open Microsoft Outlook.
2. Click the “File” menu and select “Add Account.”
3. Enter your name, email address, and password in the appropriate fields and click “Next.”
4. Outlook will now try to configure your account settings automatically. If it is successful, you will see a “Congratulations” message, and your account will be set up. If Outlook is unable to configure your account automatically, you will need to enter the following settings manually:
- Incoming mail server (POP3): pop3.frontier.com
- Outgoing mail server (SMTP): smtp.frontier.com
- Username: Your full Frontier Email address (including @frontier.com)
- Password: Your Frontier Email Password
5. Once you have entered the correct settings, click “Next” and “Finish.”
6. Your Frontier Email account will now be set up, and you can begin sending and receiving emails.
SMTP Settings for Frontier Email
When it comes to setting up Frontier Email with Windows, there are four main SMTP settings that you’ll need to be aware of. These are:
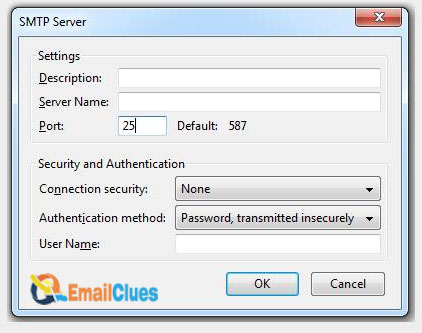
1. The outgoing mail server (SMTP)
2. The incoming mail server (IMAP or POP)
3. The username and password for your Frontier Email account
4. The port numbers for each of the servers
Frontier Email Connection Setup
Frontier Email is a web-based email service provided by Frontier Communications. It offers a variety of features, including a user-friendly interface, increased storage space, and enhanced security. You can access your Frontier Email account from any computer with an Internet connection.
To set up your Frontier Email account in Windows, you must gather some information first. Frontier Email requires the following:
- Your name
- Your email address
- Your Frontier Communications username
- Your Frontier Communications password
- The incoming mail server for your Frontier Email account
- The outgoing mail server for your Frontier Email account
Once you have everything you need, setting up your Frontier Email account in Windows is a breeze.
Server NameSync Server check
If you’re trying to set up Frontier Email on your Windows computer, you may need to check your server NameSync settings. Here’s how:
1. Open the Windows Control Panel.
2. Click on the Mail icon.
3. In the Mail Setup window, click the Show Profiles button.
4. In the Mail dialog box, click on the Frontier Email profile and then click the Properties button.
5. Click on the Servers tab in the Frontier Email Properties dialog box.
6. Under the Incoming Mail Server section, select the Server NameSync Server check box.
7. Under the Outgoing Mail Server section, make sure that the Server NameSync Server check box is also selected.
8. Click the OK button to save your changes and close the dialog box.
Now, you can set up Frontier Email on your Windows computer without problems.