How to Juno Email Account Settings Features and Uses SMTP Access.
Juno email provided to services by juno users to access mails as premium customers. It has great features and user experiences.
It’s a great alternative to the default Gmail app and offers many features that the Gmail app doesn’t. For example, you can set up multiple accounts in Juno and customize the interface to suit your needs.
If you’re looking for an email client that offers more features and customization options than the Gmail app, Juno is a great choice. In this article, we’ll show you how to set up your Juno account and take advantage of its features.
Creating a Juno Account
To use Juno, you’ll need to create a Juno account. You can do this by going to the Juno website and clicking on the “Create an Account” button.
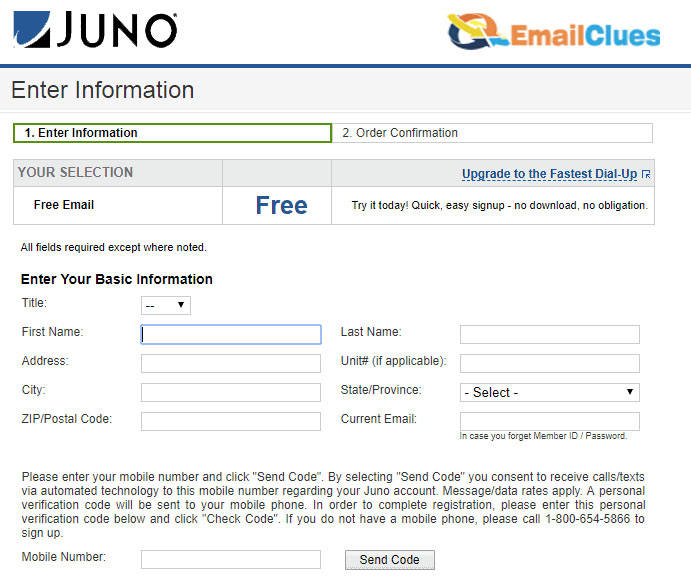
- To do this, go to the https://my.juno.com/start/login.do?cf=sp website and click on the “Create an Account” link.
- You will then be asked to enter your name, email address, and other information.
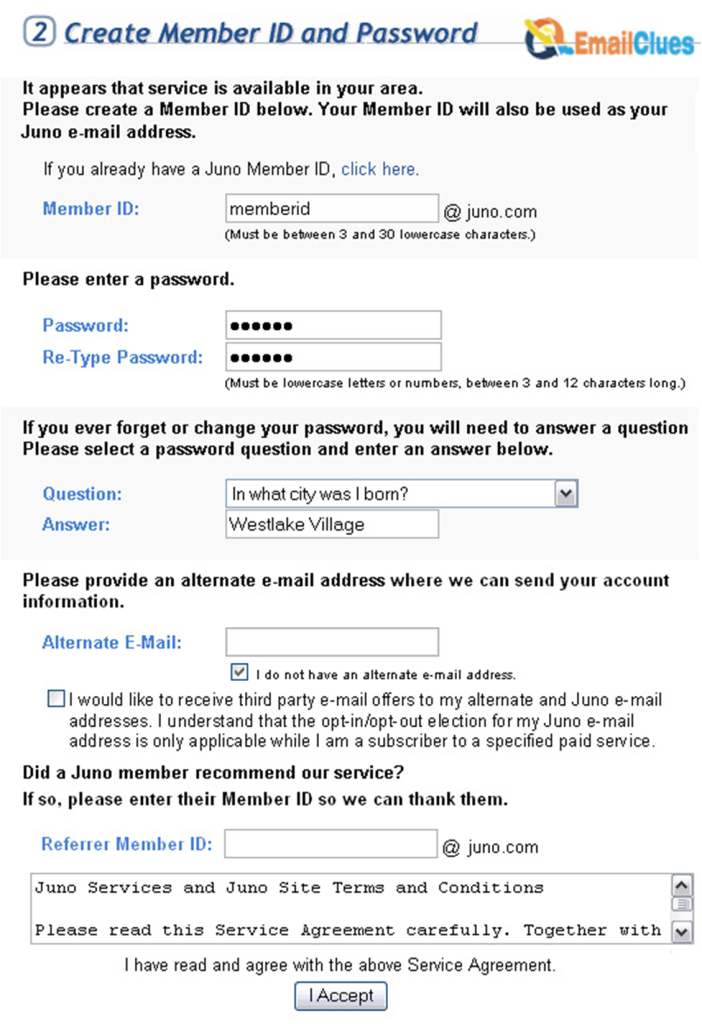
- Once you have entered all the required information, you can create your username and password.
- After you have created your username and password, you will be asked to set up some security questions.
- These questions will be used to verify your identity if you ever forget your password.
- You will be asked to answer security questions, and you should choose questions to which you will remember the answer but that are not easy to guess.
Once you have set up your security questions, you can log in to your Juno account. You can then start using all of the features that Juno offers.
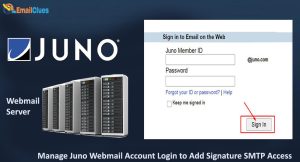
Log into my Juno Account
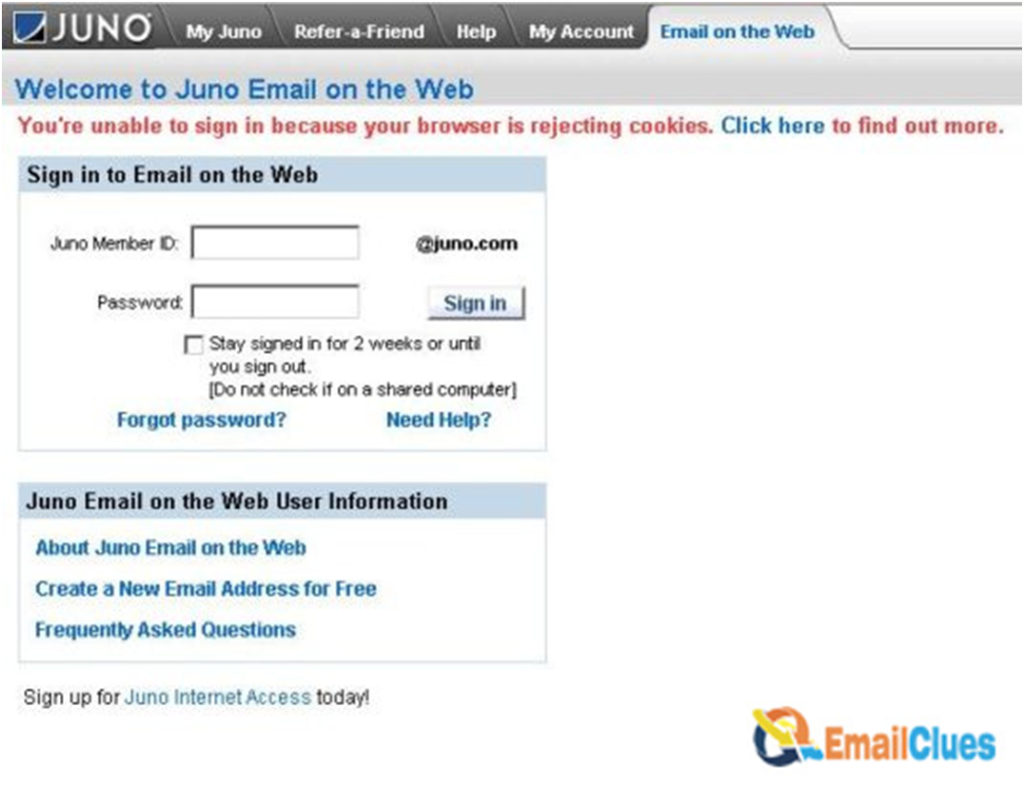
If you’re a new Juno member, you’re probably wondering how to set up your login account. Here’s a quick guide on how to do just that.
- First, go to https://my.juno.com/start/login.do?cf=sp and enter your “User Id” in the top left-hand corner.
- Enter your email address and password in the appropriate fields, then click on the “Log In” button.
- Once you’re logged in, you’ll be taken to your account dashboard. You can view your account details, manage your subscription, and more here.
Connecting to Server:
There are two ways that you can connect to your Juno email server to begin using your email account. The first way is to use an email client, a software program that you can download and install on your computer to access your email. The second way is to use the webmail interface, which is a way to access your email account directly through your web browser.
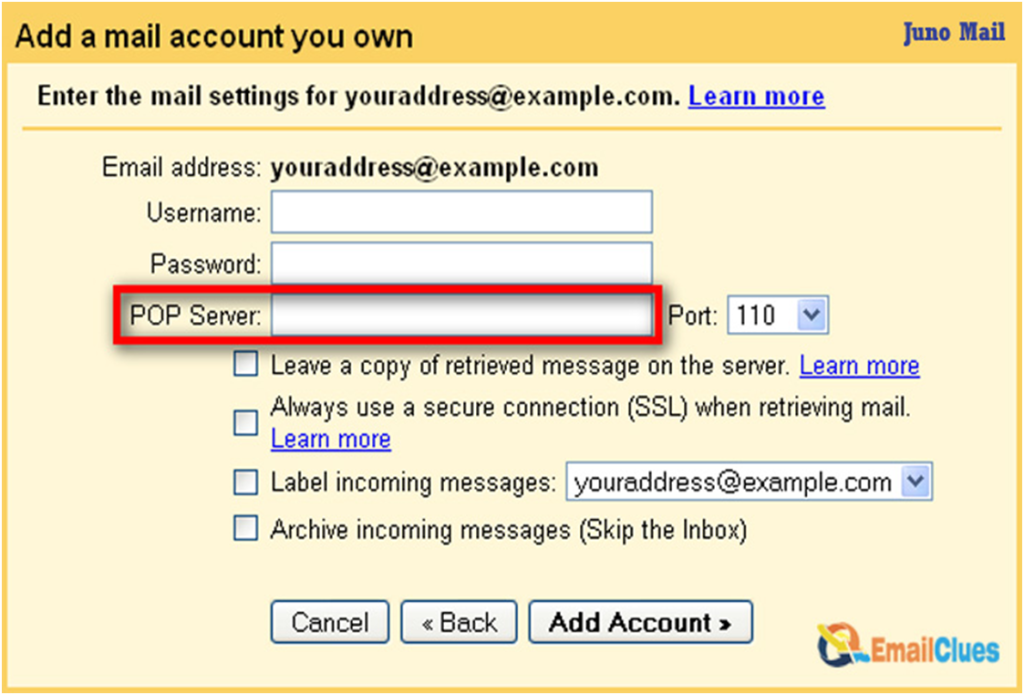
If you want to connect to your Juno email server using an email client, you will need to enter the following information into the email client software:
- Juno email server address: pop3.juno.com
- Juno email server port: 995
- Juno email username: your Juno email address
- Juno email password: your Juno email password
Once you have entered all of the necessary information, you should be able to connect to your Juno email account and start using it.
If you want to connect to your Juno email server using the webmail interface, you can do so by going to the following URL:
https://webmail.juno.com/ You will then be prompted to enter your Juno email address and password to log in. After you have logged in, you can access your email account and start using it.
Use Juno mail through the app?
You can access your email through the Juno app if you’re a Juno user. The Juno app is available for both Android and iOS devices. To access your Juno email through the app, follow these steps:
- Download the Juno app from the Google Play Store or the App Store.
- Open the app and sign in with your Juno username and password.
- Once you’re signed in, you’ll be able to access your Juno email just like you would through the Juno webmail interface.
The Juno app is a great way to stay connected to your email while on the go. The app allows you to quickly check your email, send and receive messages, and more.
Troubleshoot Juno mail through the app:
There can be several reasons you cannot access your Juno email through the app. Here are some troubleshooting tips to help you get back up and running:
- Check your internet connection – Juno requires an internet connection to function. If you’re having trouble connecting to the internet, try restarting your modem or router.
- Check your Juno email settings – Make sure your Juno email settings are correct. You can find your Juno email settings by logging into your account and going to the “Settings” page.
- Update the Juno app – Sometimes, simply updating the Juno app can fix the problem. Check to see any updates available for the app by going to the App Store or Google Play Store.
- Delete and reinstall the Juno app – If you’re still having trouble, you can try deleting the Juno app and then reinstalling it. This will often fix any problems that you’re having.
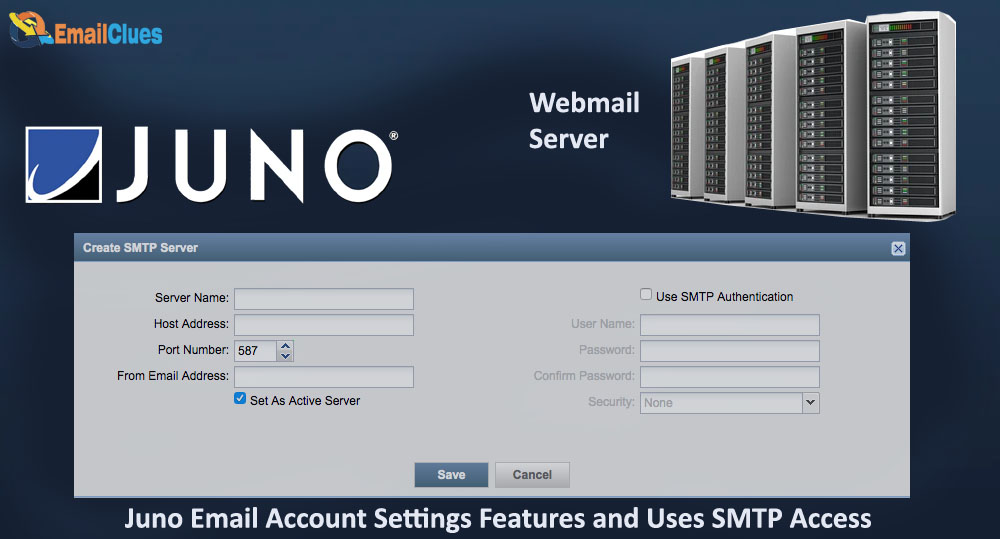
Server Settings of Juno mail
POP settings for Juno mail
- POP3 (Incoming mail): pop.juno.com
- SMTP (Outgoing mail): authsmtp.juno.com
- Incoming mail port: 110
- Outgoing mail port: 587
Juno mail with SSL settings
- POP3 (Incoming mail): pop.juno.com
- SMTP (Outgoing mail): smtp.juno.com
- Incoming mail port: 995
- Outgoing mail port: 465
IMAP Settings of Juno Mail
- IMAP (Incoming mail): imap.juno.com
- SMTP (Outgoing mail): smtp.juno.com
- Incoming mail port: 143
- Outgoing mail port: 465
Login features of Juno mail
There are many different login features that you can use to make your Juno experience more convenient and secure. Here are four of the most popular login features that you can use:
1. Two-Factor Authentication
Two-factor authentication is an extra layer of security that requires you to confirm your identity using two different factors. Typically, these factors are something you know (like a password) and something you have (like a code sent to your phone). With two-factor authentication enabled, even if someone knows your password, they won’t be able to log in to your account unless they also have access to your phone. This makes it much harder for someone to hack into your account. To enable two-factor authentication on your Juno account, go to the “Security” tab in your account settings. Then, select the “Enable Two-Factor Authentication” option.
2. Login Notifications
Login notifications are email or text messages sent to you whenever someone logs in to your Juno account. These notifications can be a great way to track who is accessing your account and when. Go to the “Security” tab in your account settings to enable login notifications. Then, select the “Enable Login Notifications” option.
3. Account Lockout
Account lockout is a security feature that automatically locks your account after a certain number of failed login attempts. This prevents someone from repeatedly trying to guess your password and eventually gaining access to your account. Go to the “Security” tab in your account settings to enable account lockout. Then, select the “Enable Account Lockout” option.
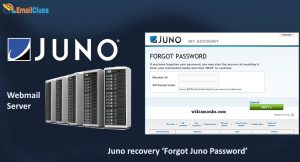
4. Password Reset
If you ever forget your Juno password, you can use the password reset feature to create a new one. To do this, you’ll need access to the email address associated with your Juno account. Go to the Juno login page and click the “Forgot your password?” link to reset your password. Then, follow the instructions to reset your password.