How to Set Up Windstream Mail on Windows?

If you use Microsoft Windows and want to set up your Windstream e-mail, there are a few different ways you can do it. You can use Microsoft Outlook, Windows Mail, or even the Mail app with Windows 10. This article will show you how to set up all these.
How to Set Up Windstream Mail on Windows?
If you use Windows 10 Mail, you can add your Windstream account using the following steps:
- Open Windows 10 Mail and go to Settings
- Select Accounts
- Select Add account
- Enter your Windstream e-mail address and password
- Select Sign in
- Windows 10 Mail will now configure your account
You’re all set! Your Windstream account is now ready to use in Windows 10 Mail.
How to Set Up Windstream Mail Manually?
Here are the steps you need to follow:
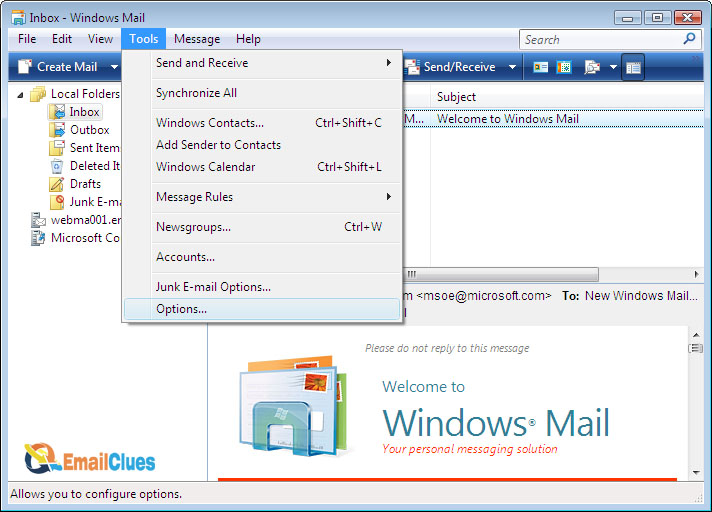
- Open the Windows Control Panel and go to the Mail applet.
- Click on the Show Profiles button and then click on the Add button.
- Enter a name for the new profile and click OK.
- Select the Manually configured server settings or additional server types option and click Next.
- Select the Internet E-mail option and click Next.
- Enter your Windstream account information as follows:
- Your name: Enter your full name.
- E-mail address: Enter your full Windstream e-mail address.
- Account type: Select POP3 from the drop-down menu.
- Incoming mail server: Enter “pop.windstream.net.”
- Outgoing mail server (SMTP): Enter “smtp.windstream.net.”
- User Name: Enter your full Windstream e-mail address again.
- Password: Enter your Windstream password.
- Ensure the Remember password option is checked, and click the More Settings button.
- In the More Settings dialog box, go to the Outgoing Server tab.
- Check the My outgoing server (SMTP) requires authentication option and make sure the Use same settings as my incoming mail server option is selected.
- Click the OK button.
- In the Add New Account dialog box, click the Next button.
- Your new account should now be successfully configured. Click the Finish button.
How to Set Up Windstream Mail Automatically?
Are you looking for a way to set up your Windstream e-mail account in Windows automatically? If so, you’ve come to the right place. In this section, we’ll show you how to do just that.
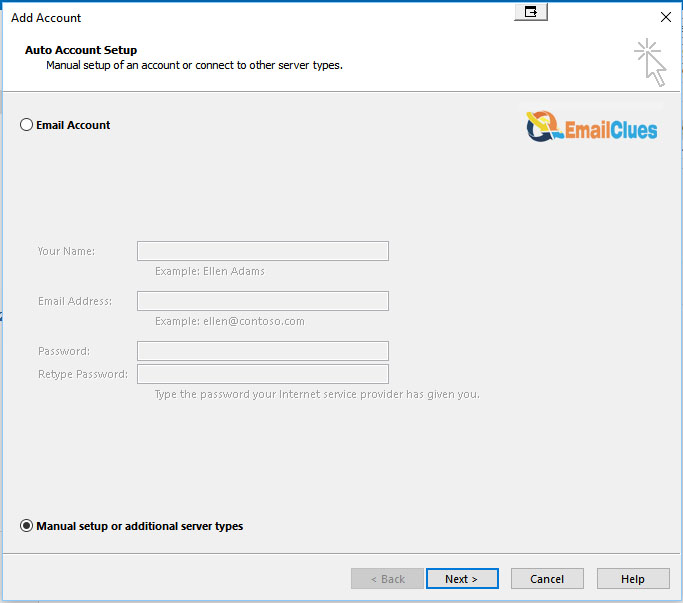
- First, you’ll need to open the Control Panel. To do this, type “control panel” into the search bar on your taskbar and click the Control Panel app that appears.
- Once the Control Panel is open, click the “Mail” icon.
- Click on the “E-mail Accounts” button in the Mail window that appears.
- Select the “Add a new account” option in the next window and click “Next.”
- Now, you’ll need to enter your Windstream e-mail address and password. Once you’ve done that, click “Next.”
- Windows will now try to set up your account automatically. If it is successful, you’ll see a “Congratulations” message. Click “Finish” to complete the process.
- If Windows cannot set up your account automatically, you must enter some additional information. Click on the “More Settings” button.
- In the “Outgoing Server” tab of the next window, select the “My outgoing server (SMTP) requires authentication” option. Then, select the “Use same settings as my incoming mail server” option and click “OK.”
- That’s it! You should now be able to use your Windstream e-mail account in Windows.
How to Set Up Windstream Mail with SMTP Settings?
If you’re a Windstream customer, you can set up your e-mail account in Windows Mail using the following SMTP settings:
- Outgoing Mail (SMTP) Server: smtp.windstream.net
- Port: 587
- Requires SSL: Yes
- Requires authentication: Yes
Use the same settings as the incoming mail server

- Incoming Mail (IMAP) Server: mail.windstream.net
- Port: 995
- Requires SSL: Yes
- You’ll need to enter your full e-mail address and password for both the incoming and outgoing mail servers. Once you’ve entered your settings, click the “Next” button to continue. Windows Mail will now try to connect to your e-mail account.
How to Set Up Windstream Mail when Rejecting Mails?
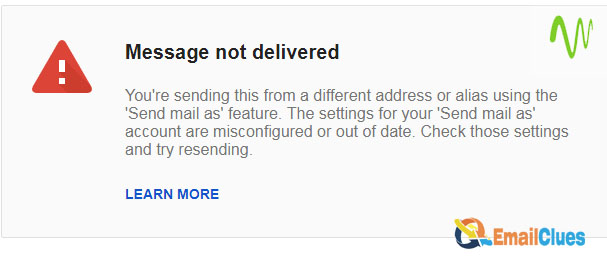
If you’re using the Mail app and you’re not receiving any e-mails from your Windstream account, it’s likely that your account has been marked as spam by Windstream. To fix this, you’ll need to change your account’s settings to avoid rejecting all incoming mail.
- To do this, open the Mail app and click the gear icon in the bottom-left corner. Then, click on Accounts.
- Click on your Windstream account, then click on Change mailbox sync settings.
- On the next page, ensure that the option for downloading new content is set to Every hour. Then, click on the Save button.
- You should now receive e-mails from your Windstream account in the Mail app.
How to Set Up Windstream Mail with Connection Settings?
There are two ways to set up your Windstream e-mail with the Windows mail app. You can use the automatic configuration option or manually enter your account settings.
- Your e-mail address
- Your account type (POP3 or IMAP)
- Your incoming mail server
- Your outgoing mail server (SMTP)
- Your username
- Your password
Once you have all this information, you can enter it into the Windows mail app and use your Windstream e-mail account.
How to Set Up Windstream Mail with Sync Server Check?
You can set up Windstream Mail with Microsoft’s Sync Server Check. This will allow you to synchronize your e-mail and contacts between your computer and Windstream account.
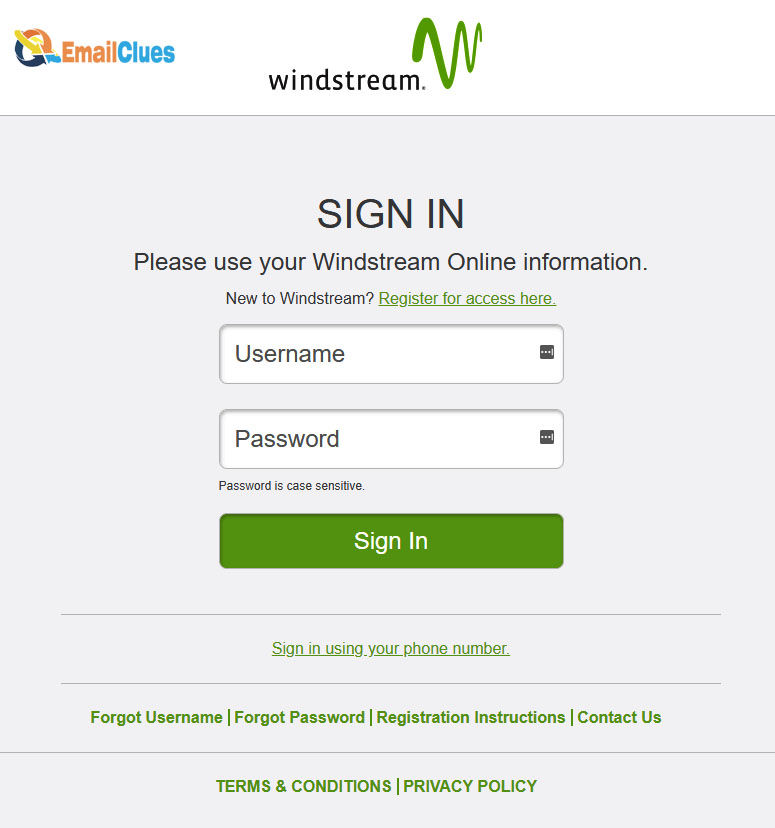
- Enter your Windstream e-mail address and password in the appropriate fields.
- Click the “Sign In” button.
- Click the “Add a new account” link.
- Select the “Windstream” option from the drop-down menu.
- Enter your Windstream e-mail address and password in the appropriate fields.
- Click the “Add Account” button.
- Click the “Start Sync” button.
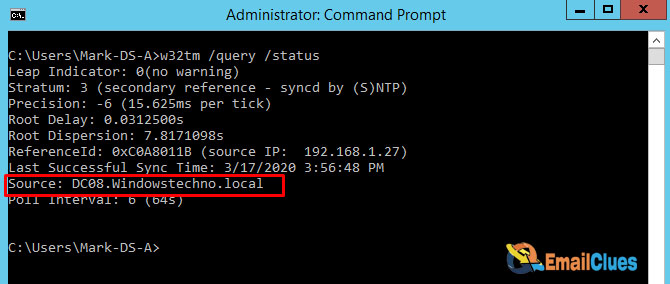
Sync Server Check will synchronize your Windstream Mail account with your Windows computer.


