How to Setup Gmail on Android: Setup Mail Steps?
Setup Gmail into Android Phone
you are a beginner or searching for the right method to set up Gmail on Android, it’s for you. Besides setting up Gmail, there are many Settings to be considered. Here are the Setup Mail Steps for you.
Setup Gmail on Android: Setup Mail Steps
If you want to set up another Gmail Account in your Gmail, then follow these steps.
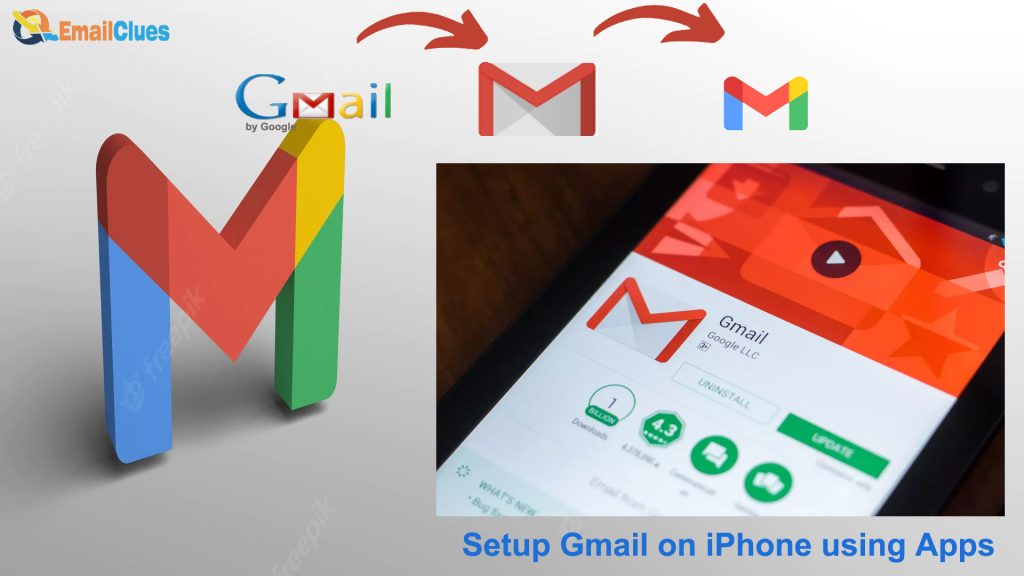
Step I – Getting the Gmail App
It’s a pre-installed app by Google on your phone. So, before opening it, check for the app’s updates from Play Store.
- Go to the Play Store, search for the app and check the updates.
- If an update is available, update it. If not, open the app.
Step II – Add the Accounts
- Go to the Menu/Three lines options in your screen’s top left edge.
- Scroll down and tap on Settings.
- Tap on Add Accounts option.
Step III – Choose the Google
- Now it opens the Set up email options, and here you have the different mail providers to choose from.
- Choose Google from the list.
Step IV -Sign in with your Account
- Now enter the Gmail address there, and click on Next.
- In the next tab, enter the password, and click on Next.
- Tap on Agree for the terms and conditions.
- Accept all the back options and Google Services.
After getting these simple steps, you can set up on Gmail Android. You can also check the Setup Mail Steps in Gmail below.
Steps to Setup Email on Gmail Android (Add Other Mail in Gmail)
Check out the step-by-step guide to Setup on Gmail Android.
Step I – Getting with Gmail
Go to Gmail>Settings>Add Accounts.
Step II – Set up email.
After adding an account, choose the Other from the Set up email.
- Now enter the mail address which you want to add.
- Click on the Next icon.
Step III – Configure IMAP/POP Settings
Now tap on Persnoal (IMAP) option. It will ask you to enter the express Mail password which you will set up.
- Enter the password there and click on Next.
- It opens the Incoming server settings.
- Copy/enter or type imap.one.com in the Server.
- Click on Next.
Step IV – Configure SMTP Settings
You need to set the SMTP Setting server as an outgoing server in the next window. Here’s how,
Type/ enter or paste send.one.com in the SMTP Server box.
Click on Next.
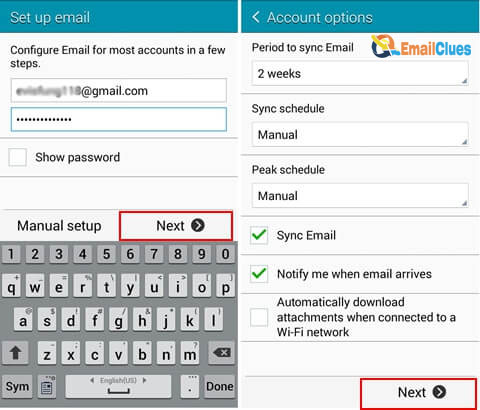
Step V – Configure the Account Options
Here you can set the frequency to sync your emails. Also, you can enable the options as per your need.
Set your choice’s Sync Frequency, like Evey 15 minutes, Every 1 Hour, etc.
Check the option. Please notify me when emails arrive.
Check Sync emails from this account and Automatic download attachments options.
At last, click on Next.
With these simple steps, you can set up Email on Gmail Android. You can easily follow these authentication processes for the Incoming port & Outgoing port.
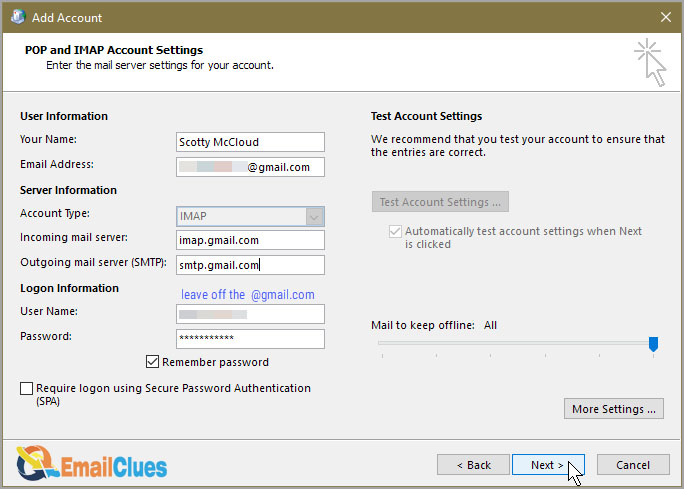
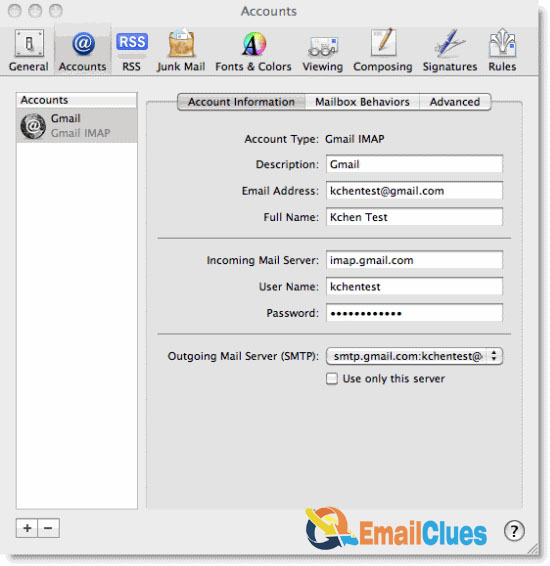
How to Configure SMTP Settings in Gmail
To set up Gmail Android, you must configure the SMTP Settings. If you are using the Email services and want to connect it to another server, then it’s required. So, to find the Gmail SMTP Server, you have the following details to configure.
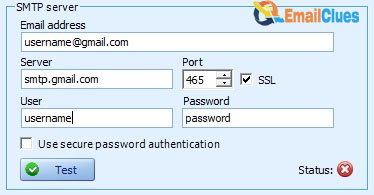
Server Address: smtp.gmail.com
SMTP Name: Your full name or company name
Username: you can use your email address before @ for the username
Password: The same password used to get logged in for your Mail.
Port (TLS): 587