How to Manage Juno Broadband Connection with Desktop Application?
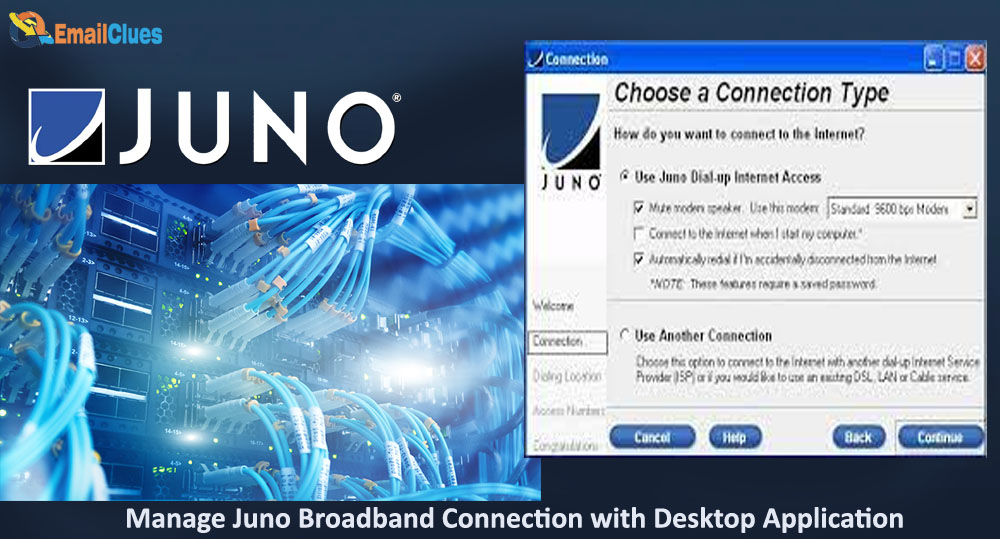
There are many reasons why Juno Desktop is the best way to manage your broadband account. With Juno Desktop, you can easily view your account usage, manage your account settings, and even pay your bill online. Plus, Juno Desktop provides 24/7 customer support so you can always get help when you need it.
Here are just a few of the reasons why Juno Desktop is the best way to manage your broadband account:
1. Juno Desktop makes it easy to view your account usage.
With Juno Desktop, you can easily view your account usage. This means that you can track your data usage and ensure that you stay within your monthly data allowance. Plus, you can also view your account balance and make sure that you always have enough money to pay your bill.
2. Juno Desktop makes it easy to manage your account settings.
With Juno Desktop, you can easily manage your account settings. This means that you can change your password, update your contact information, and even manage your billing and payment options. Plus, you can also add or remove services from your account.
3. Juno Desktop provides 24/7 customer support.
Juno Desktop provides 24/7 customer support so you can always get help when you need it. This means that if you ever have any questions or problems, you can always contact Juno customer support and they will be happy to help you.
4. Juno Desktop makes it easy to pay your bill online.
Juno Desktop makes it easy to pay your bill online. This means that you can pay your bill from the comfort of your own home without having to go to the Juno office. Plus, you can also set up automatic payments so you never have to worry about forgetting to pay your bill.
5. Juno Desktop is free to use.
Juno Desktop is free to use. This means that you can start using Juno Desktop right away without having to pay anything. Plus, you can also upgrade to Juno Premium for even more features and benefits.
If you are looking for the best way to manage your broadband account, then Juno Desktop is the perfect solution for you.
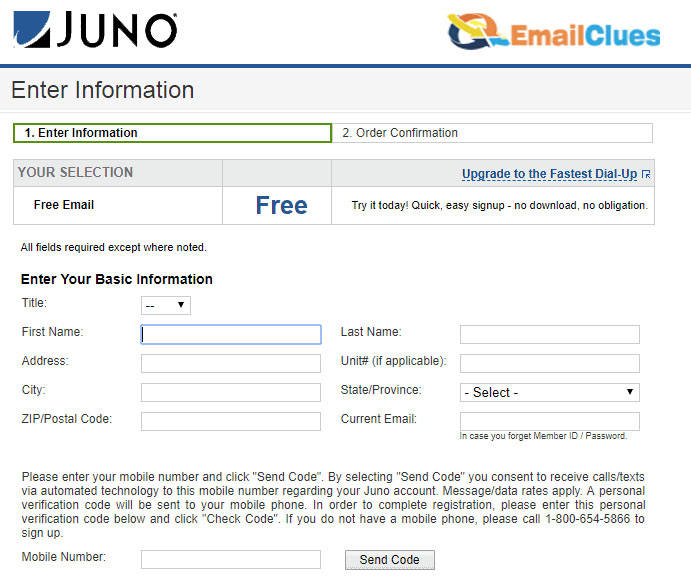
Access of accounts
Assuming you already have a Juno account, you can follow these steps to access it using the Juno Desktop client:
1. Download and install the Juno Desktop client from the Juno website.
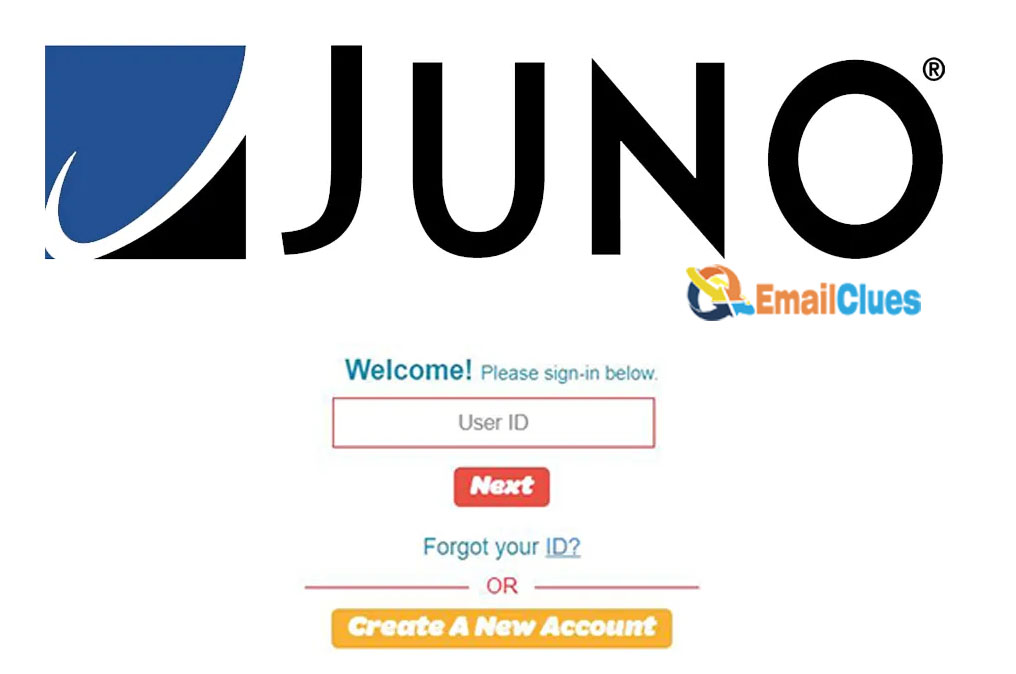
2. Once installed, open the client and click on the “Accounts” tab.
3. Enter your Juno username and password, then click “Login”.
4. Once logged in, you will be able to access your account settings and preferences.
Accessing Juno services
The Juno Desktop environment offers a variety of services that can be accessed by users. These services include:
- A user account management system
- A file manager
- A task manager
- A system settings manager
- A software repository
Each of these services can be accessed via the Juno Desktop interface. In this blog, we will take a look at how to access each of these services.
User Account Management
The user account management system in Juno Desktop can be accessed by clicking on the “User Accounts” icon in the Juno Desktop interface. In the user account management system, users can create and manage their user accounts. This system also allows users to change their password, set their avatar, and manage their user groups.
File Manager
The file manager in Juno Desktop can be accessed by clicking on the “Files” icon in the Juno Desktop interface. In the file manager, users can browse their file system, copy and move files, and create and manage directories.
Task Manager
The task manager in Juno Desktop can be accessed by clicking on the “Tasks” icon in the Juno Desktop interface. In the task manager, users can view a list of running tasks, end tasks, and view task information.
System Settings Manager
The system settings manager in Juno Desktop can be accessed by clicking on the “System Settings” icon in the Juno Desktop interface. In the system settings manager, users can configure their system settings. This includes setting their wallpaper, changing their password, and configuring their system language.
Software Repository
The software repository in Juno Desktop can be accessed by clicking on the “Software” icon in the Juno Desktop interface. In the software repository, users can browse and install software packages. This repository includes a variety of software packages, including office suites, games, and utilities.
Customising your mail settings
Assuming you’re using the Juno desktop client, there are a few ways you can go about customizing your mail settings. Here are six methods:
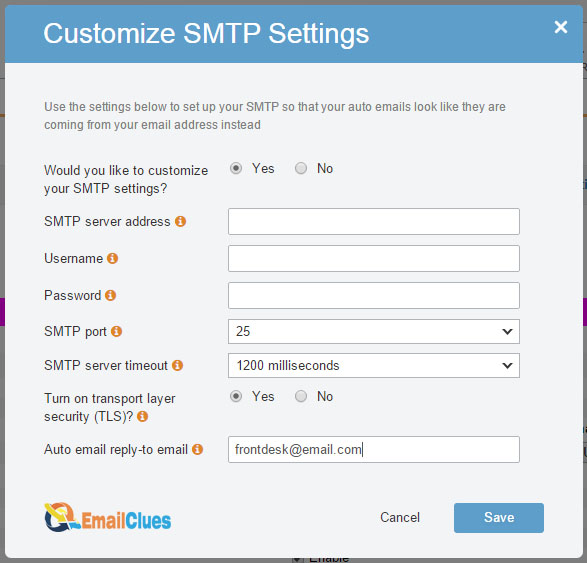
1) Adjusting your account settings: You can access your account settings by clicking the gear icon in the top-right corner of the Juno window. From here, you can change things like your name, password etc.
2) Changing your email address: If you need to change your email address for any reason, you can do so from the Accounts tab in the Juno settings window.
3) Adding new accounts: If you have more than one email account that you need to keep track of, you can add them to Juno from the Accounts tab.
4) Deleting accounts: If you no longer need an email account that you’ve added to Juno, you can delete it from the Accounts tab.
5) Configuring account options: Each email account that you add to Juno can have its own unique settings. To access these settings, click on the account in question from the Accounts tab.
6) Changing your theme: Juno lets you customize the look of the desktop client by changing the theme. To do so, click on the Themes tab in the Juno settings window.
Webmail access
As the name suggests, Webmail access allows you to access your Juno email account from any web browser, without having to install any software on your computer. This is convenient if you’re traveling and don’t have your Juno software with you, or if you’re using a public computer that doesn’t have the Juno software installed.
To access your Juno email account from a web browser, go to http://webmail.juno.com and enter your Juno username and password. Once you’re logged in, you’ll see a list of your Juno email messages in the left-hand column. To read a message, just click on it.
You can also compose new messages, reply to messages, and Forward messages from the Webmail interface. To do so, just click on the appropriate link at the top of the page. And if you need to access any of your Juno email settings, just click on the “Settings” link in the top-right corner.
That’s all there is to it! With Webmail access, you can easily check your Juno email account from any computer with an Internet connection.
How to Manage Your Speed band Connection?
If you’re a Juno Desktop customer, you can manage your Speed band connection from the My Account page. Here’s how:
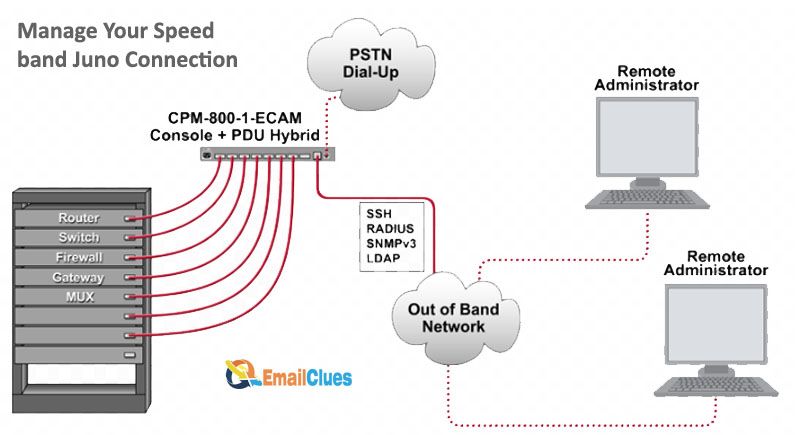
1. Log in to your My Account page.
2. Click the “Service” tab.
3. Click the “Speed band” link.
4. You’ll be taken to the Speed band management page. From here, you can view your current Speed band plan and usage, as well as upgrade or downgrade your plan.
5. To upgrade or downgrade your Speed band plan, click the “Change Plan” button.
6. You’ll be taken to the Speed band plans page. Here, you can choose the plan that best suits your needs.
7. Once you’ve selected a plan, click the “Continue” button.
8. You’ll be taken to the checkout page. Enter your billing information and click the “Submit” button.
9. Your new Speed band plan will be activated and you’ll be able to enjoy the benefits of faster internet!
How to Recover Deleted Juno Mail?
When you delete an email in Juno, it isn’t permanently deleted from your computer. The email is stored in the Trash folder on your Juno account. You can access the Trash folder and retrieve your deleted email at any time.
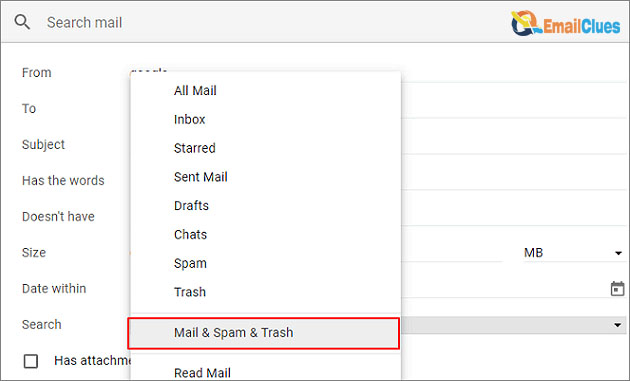
To retrieve a deleted email from the Trash folder in Juno:
1. Log in to your Juno account.
2. Click on the “Mail” tab.
3. Click on the “Trash” folder.
4. Find the email you want to retrieve.
5. Click on the email to open it.
6. Click on the “Restore” button.
The email will be restored to your Inbox.