How to”Setup AOL into Android” Steps to Resolve If Not Working?
If you are an Android user willing to connect or set up settings to add AOL Mail App to Android, you can follow this. Here we will guide you on how to set up AOL on your Android Phone.
AOL is one email app that lets you manage your digital life with a secure and fast email service. This AOL offers a free email service based on American Server.
Here’s the Setup Guide for AOL on Android,
Step I – Downloading the AOL App (Automatic Process)
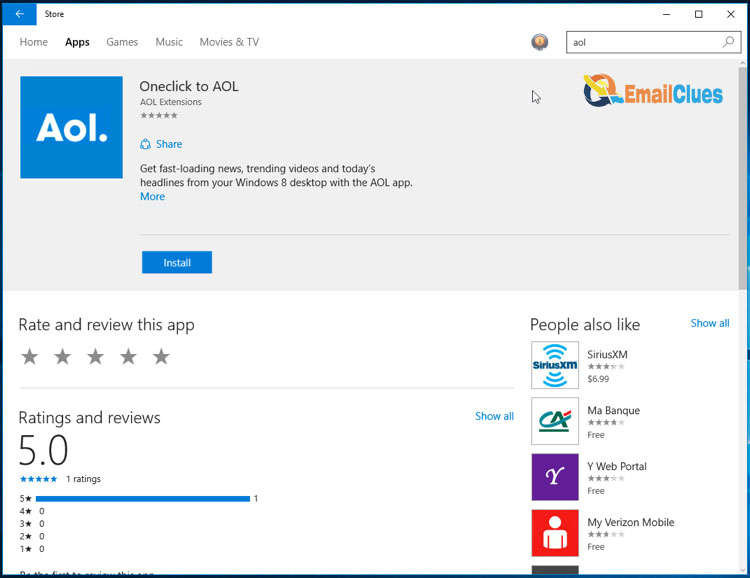
- Go to the Play Store and search for the AOL app.
- After that, Install the App on your Android phone.
- Open the App.
Step II – Setting up the AOL. App
After successful download, open the App and Accept all the terms.
- Now tap on the Profile icon at the top of the corner of the screen.
- Tap on the Manage Accounts.
- Enter your AOL Email Address and then tap on Next.
- Now enter your Password there and then Sign in.
- Please wait a few moments; it takes some time to connect to the server.
- Finally, you are done.
With this simple tutorial, you can set up AOL with Android Phone. It’s an easy tip to get Setup your AOL for Android Phone.
Method II – Setup AOL in Android Using Gmail (Manual Guide)
Step I – Authorizing the Spark
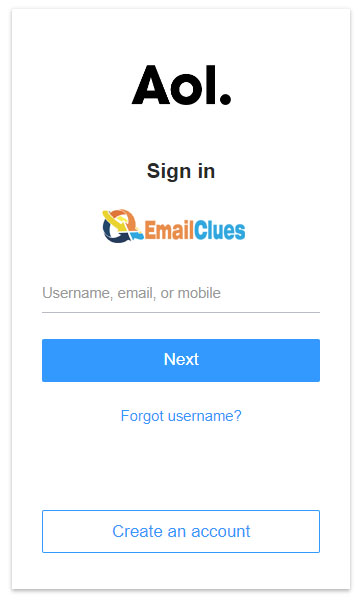
- Visit the AOL Account site page via login.aol.com in your browser.
- Get logged in there with your Account Details.
- Now tap on the Account Profile/Name shown in the top right edge of the screen/window.
- Move to the Account Security tab and then enable/toggle right for the Allow apps that use less secure sign-in.
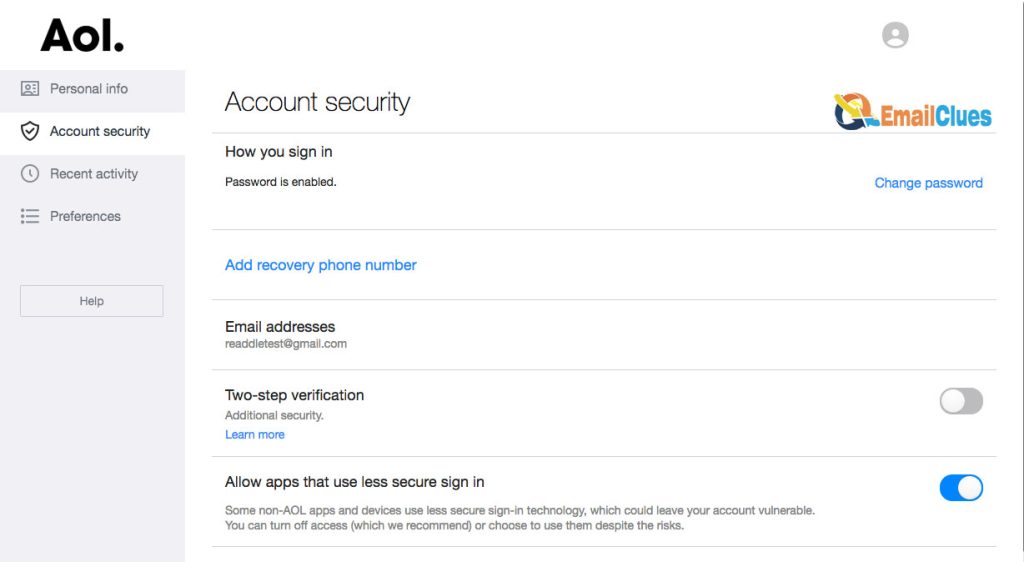
- Now you will be allowed in Spark to use your AOL email and Password,
Step II – Get Log in to your Gmail App
After the successful authorization of AOL to use any less secure app, sign in. You need to have already downloaded and Installed the App.
- Download the Gmail App for Android.
- Open the Gmail App.
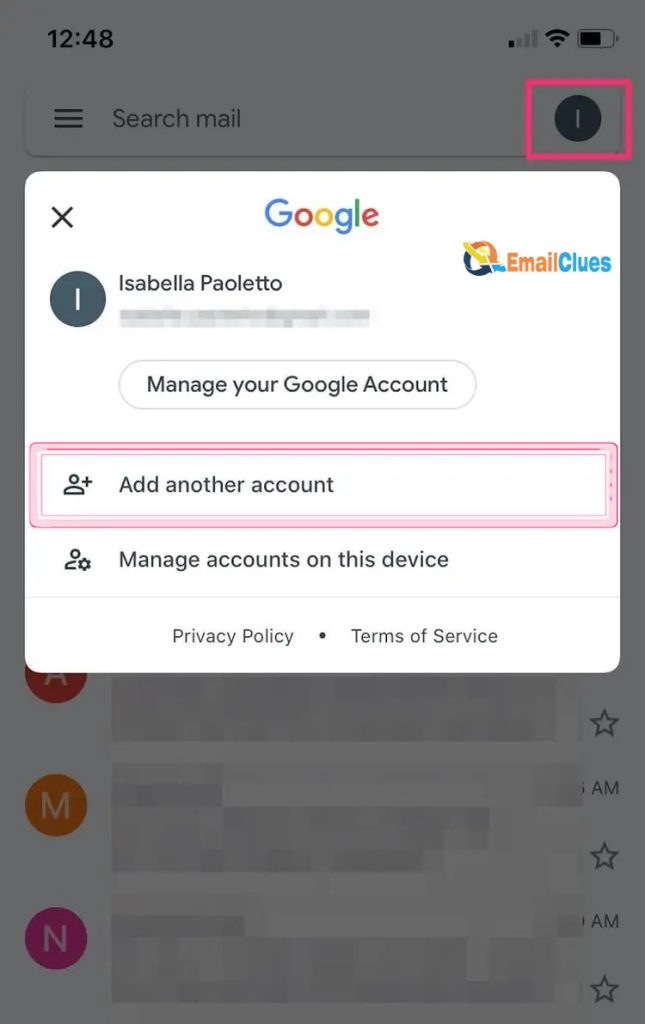
- Now tap on Add another Account.
- Tap on Other from the given list there.
- Enter your AOL Email Address there and tap on Next.
- After, in the next screen, enter your AOL Password and then tap on Advanced Settings.
- Now here, you need to enter the IMAP and SMTP Server details. You can add these here,
IMAP Settings
AOL IMAP Server Name:imap.aol.com
Port Number: 993
Encryption: SSL
Password: Your AOL Email Password
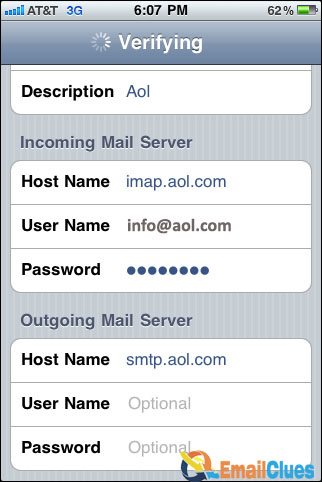
SMTP Settings
AOL SMTP Server Name: smtp.aol.com
Port Number: 465
Encryption: SSL
Password: Your AOL Email Password
- After adding the IMAP and SMTP Settings, tap on the login button. Now it will get access to your AOL Account and sync the mail.
- At last, tap on Done to finish the setup process.
- That’s it.
Fix AOL Not working in Android
Still, you are facing the issue after setting up AOL with Android Phone? If yes, then you have some guidelines that will help you to fix these errors,
Use the High Speed and Stable Internet Connection
The first method to fix the AOL not working in Android is due to the Internet connection issue. So, the first thing is to fix this issue.
Restart the AOL Mail App
Another method to fix AOL Not working in Android is restarting the AOL app. You can restart your mail app and refresh it to fix this error.
Clear the App Cache
Another method to fix this error is clearing the cache of the App. App cache is the reason that caused your successful Setup of AOL with an Android Phone not to work. So, clear the App cache and try once.
FAQ
How to fix AOL Not working on Android?
If AOL Mail is not working on your Android, you can reset your Email Password. Also, you can check the Internet connection status once
.
How to Set up AOL on Samsung or any Android?
To Add your AOL Email Account in Samsung on any android, go to Accounts and backup>Manage Accounts>Add Account>Email>Others and enter the email details.
Why does AOL Email Stop Syncing on Android?
If your AOL Email fails to sync on your Android phone, you can ensure that automatic email sync features are enabled. Go to Settings>Accounts and Sync, and enable Auto Sync there.