11 Guides Fixes While Installing Updates on Windows 11
Updating is the most acceptable method to make our Windows up to date. Microsoft used to push updates to Windows users from time to time. Yes, getting the latest security updates helps improve the performance and adds some new features. But sometimes, the updated packages or updating process cause an encounter for the users.
Windows 11 Update is one of the heaviest updates till now. Although Microsoft has added several features, the users like us are missing features like drag down copy/move. Don’t worry; we are always ready to guide and make you happy.
Fix Problems Installing Updates on Windows 11
If you are facing problems before/before/after the installation of new updates on Widows, here are some methods to proceed. Basically, the error codes like 0xC1900101 – 0x2000c, 0xC1900101 – 0x20017, 0xC1900101 – 0x30018, 0xC1900101 – 0x3000D, 0xC1900101, etc. Are shown while encountering problems related to windows updates. Check these 11 guides to update Windows.
Method I – Restart Your PC
Restarting the PC is the standard method to fix the problems while installing the updates. The restarting process closes all the system functions and again restarts the apps by cleaning the temp and cache files.
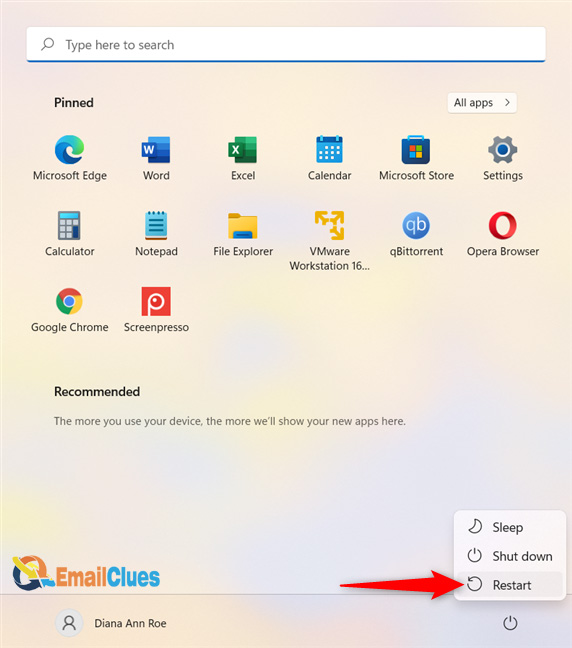
- Open Start and then click on the Power Button.
- Here click on Restart.
- Please wait until it re-starts.
After restarting the PC, try one to install the updates. If not, then move to the following method.
Method II – Restarting/ Pausing the Download Process
Due to a slow internet connection, your PC fails to download the update in the middle. In this case, if your download can’t get fully downloaded, it may create an issue while installing the updates.
For this, you can pause or restart the downloading packages.
- Go to Settings and then Windows Update.
- From More Options, you need to click on Pause Updates.
- Also, inside of this, you can select the duration from a dropdown menu like pause for one week or pause for two weeks.
- Now Restart your PC and go to Windows Updates again.
- Click on Resume Updates.
With this process, the Windows updates package will get downloaded successfully. After this, you can install the updates quickly.
Method III – Free Up the Disk Space
To setup the Windows 11, at least 40GB of Storage is required in the primary drive. So, be sure you have enough space to store the system files. Deleting the temp files and other unnecessary files helps to fix this problem. Check these steps to fix Windows Update not working,
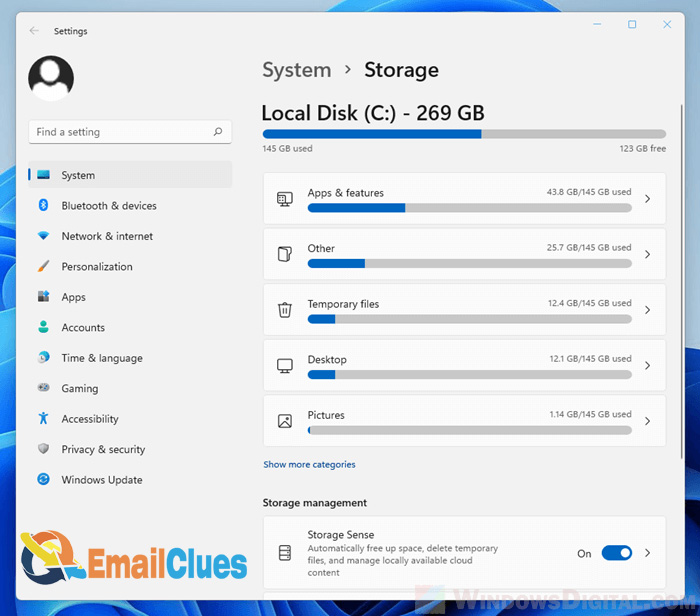
- Go to the Settings of your PC.
- Click on the System>Storage Pages.
- Wait a few minutes to compute the temporary files in your Device.
- Click the Temporary Files settings. Simply click on the small arrow sign near the size shown.
- It will move you to the System>Storage>Temporary Files.
- Now select the file which you want to delete.
- After selecting the files, click on the Remove files.
- Finally done.
After clearing such temporary files, you will have enough space to install the new Windows on your PC.
Note: Delete all the files except the Downloads. Removing the Downloads will delete all the files downloaded by you.
Method IV – Check the Network Connection
It would help if you had an active internet connection to fix problems installing updates on Windows 11. Without an active internet connection, the installation process gets stuck. Here you need to confirm the computer has an active internet connection.
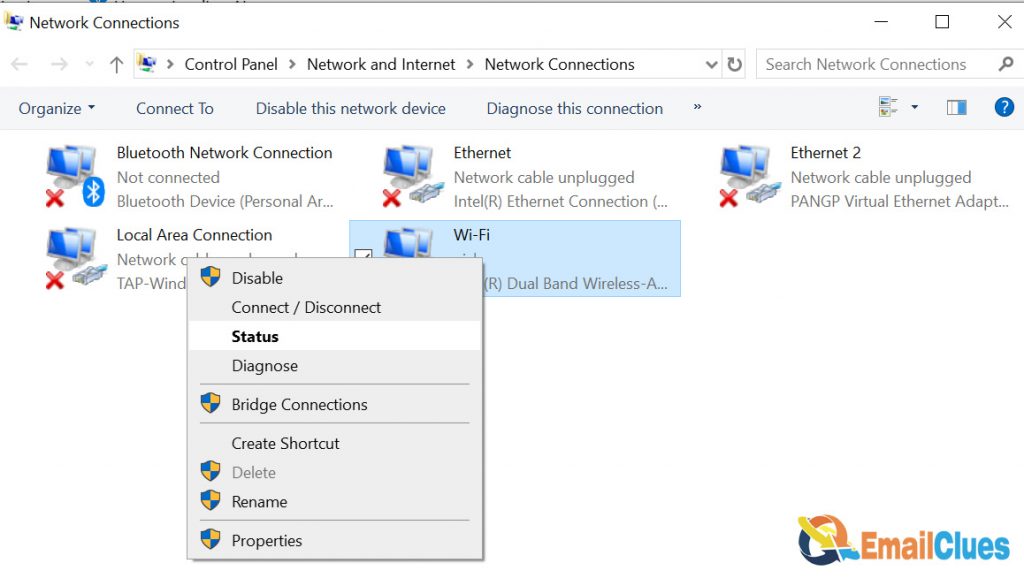
- Open the Command Prompt and give/ type the command, ping.google.com and hit Enter.
- Here confirm the packet loss.
- Wait for the process to complete.
- See the status, and if you have more than two timeouts, you may have internet connection problems. Fix it out.
Method V – Remove External Hardware
Unplugging the connected external hard drives and other USB-connected devices will help the system update without any errors. Yes, sometimes this method works on you too. So, remove the nonessential hardware devices like headphones, printers, scanners, etc., and try the installation process of Windows 11 Again.
Method VI – Updating the Windows
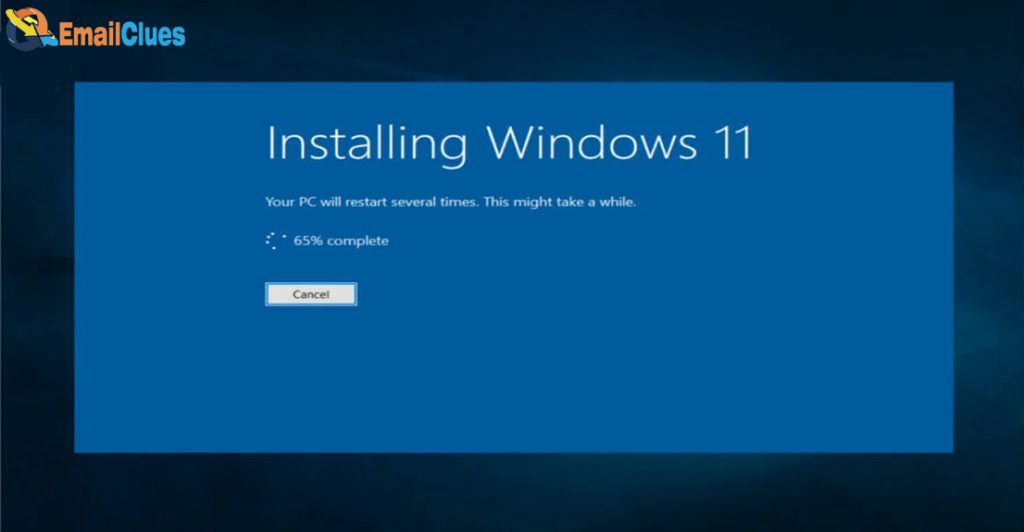
While upgrading the Windows, it may get stuck at 75%. The main reason behind this is due to the incomplete download package. Yes, if your download package is incomplete or outdated, you may face such problems.
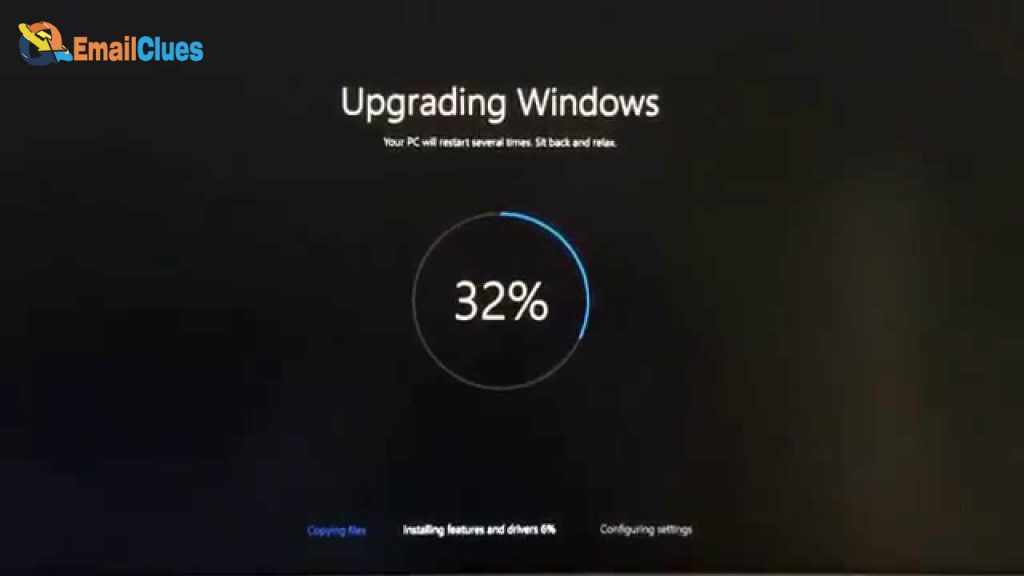
That’s why updating your PC before upgrading to new Windows is a good idea. This process will be applicable while upgrading to the newer version of Windows, like Windows 10 to Windows 11.
Similarly, this method also means updating your hardware drivers. To meet the System requirements, you must update the hardware components. The hardware requirements of Windows 11 are higher than the Previous Windows 10.
Method VII – Uninstalling the Third-party software
The best guide to updating windows 11 without errors is uninstalling non-Microsoft applications. Also, outdated software installed on your PC lets you not process the installation process of a new Windows update.
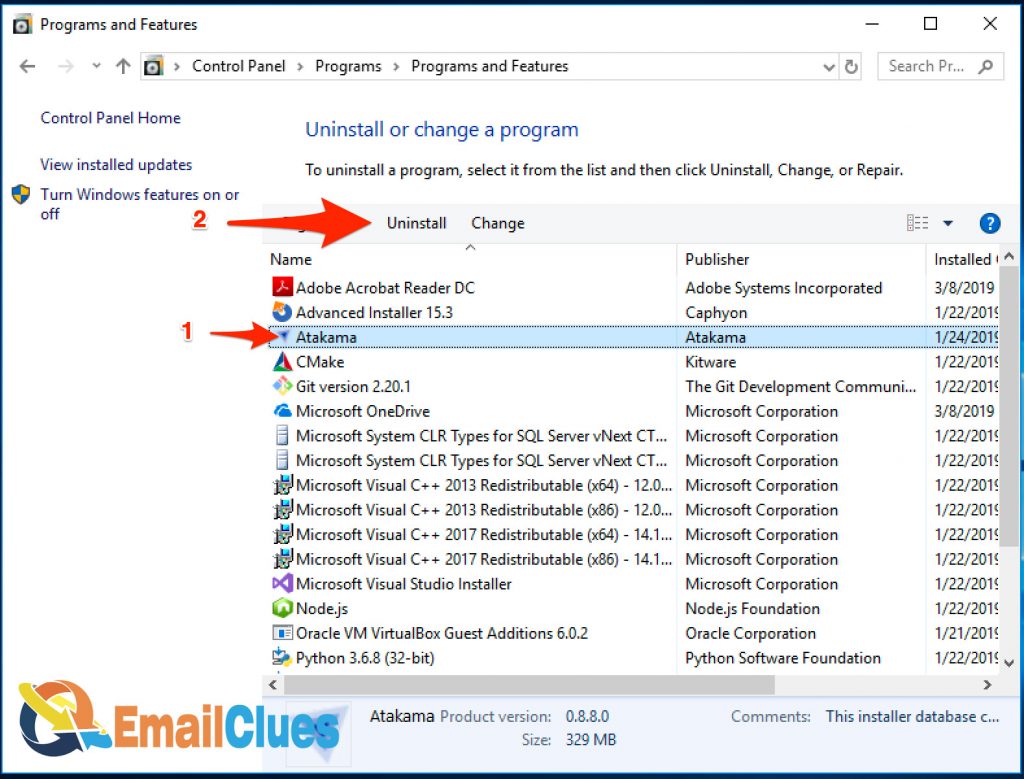
To fix problems installing updates on Windows 11, you need to uninstall the nonessential and non-Microsoft softwares. From the Programs and Features, you can uninstall the unnecessary software.
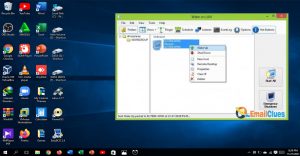
- Go to the Control Panel>Programs>Programs and Features.
- Now find and select the program/app which you want to uninstall.
- Select and do a right click, click on Uninstall>, Yes to confirm the process.
Installation of such untrusted antivirus software and nonessential software releases the malware from your PC and also makes it function properly.
Method VIII – Repair the Hard-Driver Errors
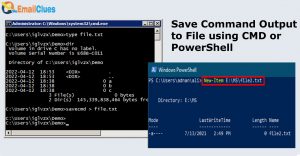
Repairing the hard-drive errors is another best guide to updating your Windows to the latest or up-to-date version. From the CMD, you can fix these minor bugs,
- Open the Command Prompt as an Administrator and type the command, chkdsk/f C:
- Hit enter and wait for the results.
- After completing the process restart the PC.
Method IX – Update the Third-party Drivers
Depending on your PC, you can check for the driver’s status and update it. Go to the device manager and try to update all the drivers. This process will help the System to fix.
Method X – Repair the System Files
Repairing the system files helps Windows to fix the corrupt files causing errors to update Windows. Here’s how,
- Open the cmd and run as admin.
- Type the command DISM.exe/Online/Cleanup-image/Restorehealth and hit Enter.
- Wait a few minutes and exit the CMD windows after the process is complete.
Method XI – Use the Windows Update Troubleshooter
With the help of Windows Update Troubleshooter, you can find an appropriate guide to fix problems installing updates on Windows 11.
Also, you can download and install any available updates, including the Hardware, Software or other minor drivers updates.
So, these are the 11 guides to updating Windows. Through these methods/steps, you can fix the Windows 11 updates problems.
How do fix Windows 11 stuck at 75%
Sometimes the new upgrade fails to complete the Installation process. Many users have reported that Windows 11 is stuck at 75% or 76%. Here are some methods to fix Windows 11 stuck.
The method I – Fix Windows 11 Stuck at 75% with Troubleshooter
- Go to Control Panel and search for Troubleshooting.
- Under Troubleshooting, find the System and Security.
- Click on the Fix Problems with Windows Update.
- Under Windows Update, click on Next, and the detecting process begins.
- Wait until the wizard gets complete and check whether the problem is solved or not.
Method II – Fix Windows 11 Stuck by Changing the System Locale
Many experts claimed that Windows 11 stuck at 75% due to the non-English locale. So, change the system locale to English and try the process once.
- Search for Region in the search box of Windows.
- Open the Region App (it’s under the Control panel).
- Go to the Administrative tab there.
- Under the Language for non-Unicode programs, you need to make/change the Current Language for non-Unicode programs: English (UK or US). For this, click on Change system locale.
- Over the pop-up screen, click on Apply.
If there were problems installing some updates due to Windows 11 being stuck at 75%, you could fix it quickly.
Windows Update taking so long
The Windows update takes a long time to install because of its heavy files and features. The upgrades and more prominent features on the package cause the windows to take so long to install.
Besides, there are some other possible methods to fix Windows Update taking so long,
- Free up the C Drive Storage
- Run the Windows Troubleshooter
- Optimize and check out the internet connection
- Pause the updates
- Defragmentation of the Drivers
- Disabling the Startup Software
Conclusion
Your PC must meet the Windows 11 system requirements for a successful installation. Also, we mentioned the possible methods to bugs and errors on windows, like how do I fix Windows 11 stuck at 75%, can’t install some updates because other updates are in progress.
FAQs
Why does Windows 11 keep failing to update?
Check required Memory Space
What happens if Windows 11 update get interrupted?
Windows Start May Stucks, Files Get Corrupted
What to do if Windows Update keeps failing?
Run SFC/SCANNOW
How do fix a corrupted Windows 11 update by self
Press Windows + X > sfc/scannow
Why can’t I update to Windows 11 even though I meet the requirements?
Windows 11 needs TPM 2.0 and approved CPUs
Is Windows 11 causing any problems?
Intel and Microsoft have found incompatibility issues with certain versions of drivers for Intel Smart Sound Technology (Intel SST) on Intel 11th Gen Core processors and Windows 11